Organizing the Art Area

I love office supplies. I love organizing papers into files and binders. I love fine-tip, rollerball pens. I love sorting paper clips, thumbtacks, sticky notes, staples, and binder clips into little containers in my desk drawer. I love the feeling I get when I open a new package of markers for the first time. I love office supplies so much that I even met the man who would eventually become my husband at an office supply store 24 years ago—so it’s no wonder that my favorite part of any preschool classroom to set up and organize is the Art area.
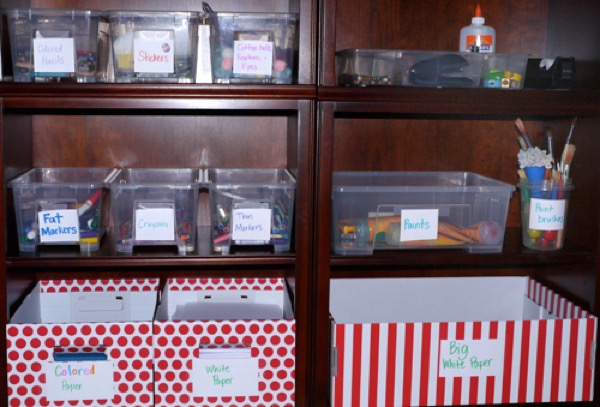
Finding attractive, inviting ways to sort, organize, and display art materials encourages children’s participation, creativity, and autonomy in the Art area. Here are some fun ideas from The Creative Curriculumfor displaying and sorting art materials:
Egg cartons with the top taped to the bottom can be used to hold scissors.
Ice cream containers, washed and dried, make good paper holders. They also can be used to store collage materials. Several containers stapled or bolted together can house a variety of small art items.
Six-pack cardboard beverage containers can be made into paint caddies. Place a clean frozen juice can lined with contact paper in each of the six slots or use clear squeeze bottles so children can see the paint color inside. Children can pick up a caddy and a brush, an advantage when easels don’t have a paint drawer attached or when a wall easel is in use.
Airtight containers can hold clay, molding dough, and other doughs. Use either plastic containers with a tight-fitting lid or metal containers with a plastic liner.
Empty yogurt containers with plastic lids make good glue or paste containers, as do squeeze bottles like those for ketchup or mustard. It is a good idea to have enough glue and paste containers so that each child in the Art area can have one to himself.
Yarn, ribbon, or twine dispensers can be made from a cardboard box with corrugated cardboard dividers. The divided areas make convenient spaces for individual balls of yarn, ribbon, or string, and prevent tangling. Punch a hole in the top of the box over each space and draw strands through the holes.
A pegboard with hooks can be used to hang smocks or woodworking tools. Shadows of objects can be cut out of colored adhesive paper to show children where tools should be returned.
Now that the first few months of the school year have passed, take a look at your Art area and see if there are any changes you’d like to make to the setup and display of materials.
About the Author